One of the benefits of a factory built home is that the insulated wall panels are assembled in a climate controlled facility. However, they still need to get assembled on site … and that’s when mother nature can take her revenge. My factory built house started getting raised on site at the beginning of January and the New England weather didn’t want to cooperate … which got me a little worried about water soaking the insulation inside the wall panels. To say I was a bit concerned about how this would play out would be pretty accurate, but it was a very cool learning and seeing how it comes together. So how did it go assembling a factory built home in the freezing rain and snow? And was the team able to achieve passive house level air tightness? That was the thing I was holding my breath on.

In case you haven’t seen my previous videos on my home build, my wife and I are building out an energy efficient factory-built home with the goal of achieving net zero energy, which means the house will produce as much energy as it uses over the course of a year. To achieve that you need to come at the problem from two sides: 1) build with energy efficiency in mind for insulation value, air tightness, HVAC and appliance choices, and 2) solar panels and a home battery for energy production. The more energy efficient the home, the less solar panels you’ll need. Another factor is if you’re going all electric, like I am, your electricity use is going to go up with EVs, electric heating and cooling, hot water, etc. So going as energy efficient as you can will help blunt that increase in electricity that’s needed.
My home was designed and built by the company, Unity Homes, whose factory is located in Keene, NH. In the last video I published about this, I had a tour of the factory and saw my insulated wall panels being built. The short story is that they build homes with insulated wall panels that take everything from thermal bridging to air tightness into account (I’ll touch on that in a bit). At the end of the
day, the wall panels have an insulation value of R-35, the attic space will be over R-50 (it may even be R-60), and the windows are triple glazed European style tilt/turn. Just for comparison, the climate zone I live in requires R-20 for walls I believe. The higher the number the better. All of the timber for the house is pre-cut in the factory for easy installation on site, and the wall panels have the exterior doors and windows preinstalled. Reduced waste and costs are some of the benefits to this approach because they’re buying supplies in bulk that can cross multiple projects. Also, the climate controlled factory means not having to worry about rain, sleet, or snow affecting production … that is until it comes to raising the house on site (I’ll get to that in just a second). The last benefit is time for the final assembly. Getting the shell of the house raised is much faster than a typical stick built house.
While Unity was building out the parts for my home, my local contractor was prepping the site, digging the foundation, and getting everything ready for Unity’s arrival. Ideally, my wife and I were hoping this all could have happened in the fall, but the timing just didn’t work out, so here we are in January with the house raising.
The unity team that was on site was made up of 4 guys plus a crane operator. The day before the crane arrived they spent time prepping the site and getting everything ready. The day the crane arrived is when I arrived on site and camped out in my Tesla. Fun fact, it doesn’t take a lot of battery energy to keep the car warm and comfortable all day, so I actually had a nice quiet mobile office setup making it easy to jump in and out of the construction site. A perk of owning an EV that I wasn’t expecting.
Day 1
One the first day of raising the weather looked worse than it was. It was wet and misty in the morning, but mainly overcast during the day. For New England, it was actually a surprisingly warm winter day in the mid 40 F range (4 – 6 C). There was an interesting choreography to how they assembled the house. They started installing the walls from the back right corner of the house towards the front left corner of the house (closest to the crane). Before setting down each wall they applied a special piece of tape that acted as a gasket between the foundation and the wall, as well as between each wall panel. After setting the wall panel and ensuring it was located precisely they drilled holes into the foundation and bolted it in place. This dance between the crane operator and the team continued until all the walls were set for the main living space of the house with the exception of the garage.
Day 2
Day 2 continued with more light rain and overcast weather as they focused on finishing out the garage walls. After that they moved onto the roof trusses, which took a decent chunk of time. When I had the factory tour, Jay Lepelle, who runs the factory, was playfully teasing me for not getting their insulated roof panels instead of going with standard trusses. We did that to save on costs, but I get why he was pushing that after seeing the assembly. The insulated roof panels are assembled just like the wall system, so it’s much faster to finish out the house versus having to set so many individual trusses. That said though, they’ve got this down to a science and by the end of the day they were able to get the main living area completed. But this is where things took a turn, weather-wise. It wasn’t great throughout this point, but it was nothing that made me worry.
Day 3
Leading into day 3, which was Friday, a mix of freezing rain and snow storm was moving through Massachusetts. While it wasn’t dumping a foot of snow, it was … concerning. Initially I thought the crew wouldn’t be able to work and might have to take off for the weekend. You can see in the video that it was coming down at a good clip at one point. My main concern was water penetration into the insulated wall panels. Now, the logical side of my brain knew this probably wasn’t a real issue to worry about, and that Unity builds in this kind of weather a lot. The other side of my brain … the lizard brain … was on the path to panic. Not in full on panic mode, but just enough to get me worried. I emailed our project manager at Unity, Rob, who’s awesome by the way, and he talked me through why my lizard brain needed to shut up.
First thing is that these wall panels are only slightly vulnerable to water intrusion in this kind of weather on the top plate of the wall. But what the team had done the night before the snow and freezing rain was to tape off any areas of concern as a temporary protection. In the morning they took pieces of the plastic wrap that was used to protect the panels for shipping and taped those along the top of the wall panels and trusses … just as an extra precaution. Even if some water did intrude into the panel, the walls are designed to breathe and let moisture escape. It’s not a sales pitch for a specific brand of product, but they use Zip sheathing and densely packed cellulose which can breath and dry itself out. According to Unity, they’ve only had an issue in a heavy downpour. If there’s any concern about moisture they take a sample of the densely packed cellulose insulation to see the extent of the water intrusion. The logical side of my brain knew all this was probably the case and my lizard brain did calm down. Jokes aside, weather is always something you have to contend with no matter what type of construction you’re doing at some point. Over the course of that day they finished out all of the trusses and had things set up to finish the following week. That’s when they finished installing all of the roof sheathing and taped all of the joints to get everything water and air tight.
I wasn’t there the first half of the week to get that on film, but I did show up on Thursday for the blower door test. For me this was the first major milestone of a project my wife and I started almost two years ago. It’s not that it took Unity two years, but from the time we decided to build a house and started our search for some land to build it on. Then the pandemic struck and slowed things way down.
I’ve talked about net zero energy homes and buildings, as well as passive house standards, in a lot of my videos. Just in case some of you watching aren’t familiar with passive house, it’s a building standard that was created in Germany back in the mid 90’s. If your building is passive house certified, you can expect up to a 90% reduction in heating and cooling costs compared to a conventional building in the US. And over 75% in relation to average new buildings in the US.
The basic tenants are a highly insulated envelope, which this house is going to have. The building should also be as free from thermal bridging as much as possible. Heat moves to where it’s colder, so the heat inside a building will always try to move outside if it’s cooler using the easiest path it can find. Thermal bridges help the heat move between those two zones. A house’s studs can act as a thermal bridge. I can’t say Unity Homes are thermal bridge free, but they’ve accounted for as much of that as they can with their design (check out my previous video if you want to hear more about that). Next up is high performance windows & doors, which again, this house has. They use triple glazed tilt turn windows from Logic, which have a U-Factor of .15 and .13 (or an R value between 6.7 and 7.7 based on the model).
All of that leads me to the final aspects of a passive house (and my house): the airtight envelope and mechanical ventilation (meaning having an ERV that’s circulating fresh air into the house and exhausting stale air out of the house while recovering the heat). Leaks around doors, windows, exterior outlets, hose bibs, sill plates, can all be extremely leaky. Sealing off a house and making it as airtight as possible helps to reduce heat loss or heat intrusion. One of Unity Homes final steps after they’ve assembled the shell of the house is to test it for airtightness with a blower door test. It looks like you probably imagine. It’s a fan that gets attached to an open doorway in your home. After calibrating it, the fan pulls air out of the house, which lowers the air pressure inside. Higher outside air pressure then tries to get into the house through unsealed gaps. The test is run at 50 pascals of pressure differential (between the inside and outside of the house) and the blower door measures that leakage as air changes per hour (ACH). To achieve passive house standard you have to be at .6 or lower ACH50. The lower the number the better.
So how did my blower test go for this? Well … not good on the first attempt … but that’s expected. Sometimes there’s little leaks they have to track down. On the first test they weren’t even close, but it was awesome seeing the entire team jump into action to track down where the leaks might be. They started with some of the more obvious potential spots, like the doorway into my studio that was blocked off with a piece of wood. They also used a thermal camera to look around door frames and windows, as well as checking the tape that was sealing the membrane into the attic space. They were checking everywhere.
The second test they ran also failed. Nobody was panicking, but the search continued. I was having a side conversation with a few people when one of the guys checked the Logic side door out of the house, which made a loud click when he tested the door handle. It wasn’t completely latched shut. I didn’t get it on camera, but as he walked away from the door he said to himself, “well … that’ll do it.” After the third test they hit a .54 ACH50. When they announced that I actually applauded … yeah, I’m that guy. I also didn’t get that test on camera (wish I had).
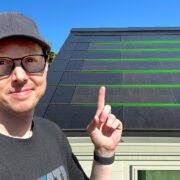
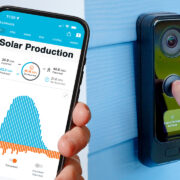
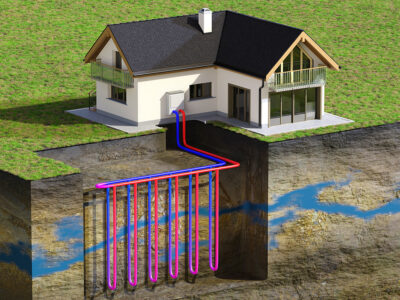
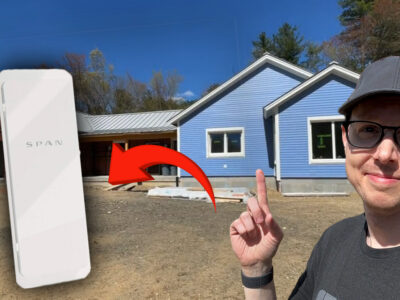
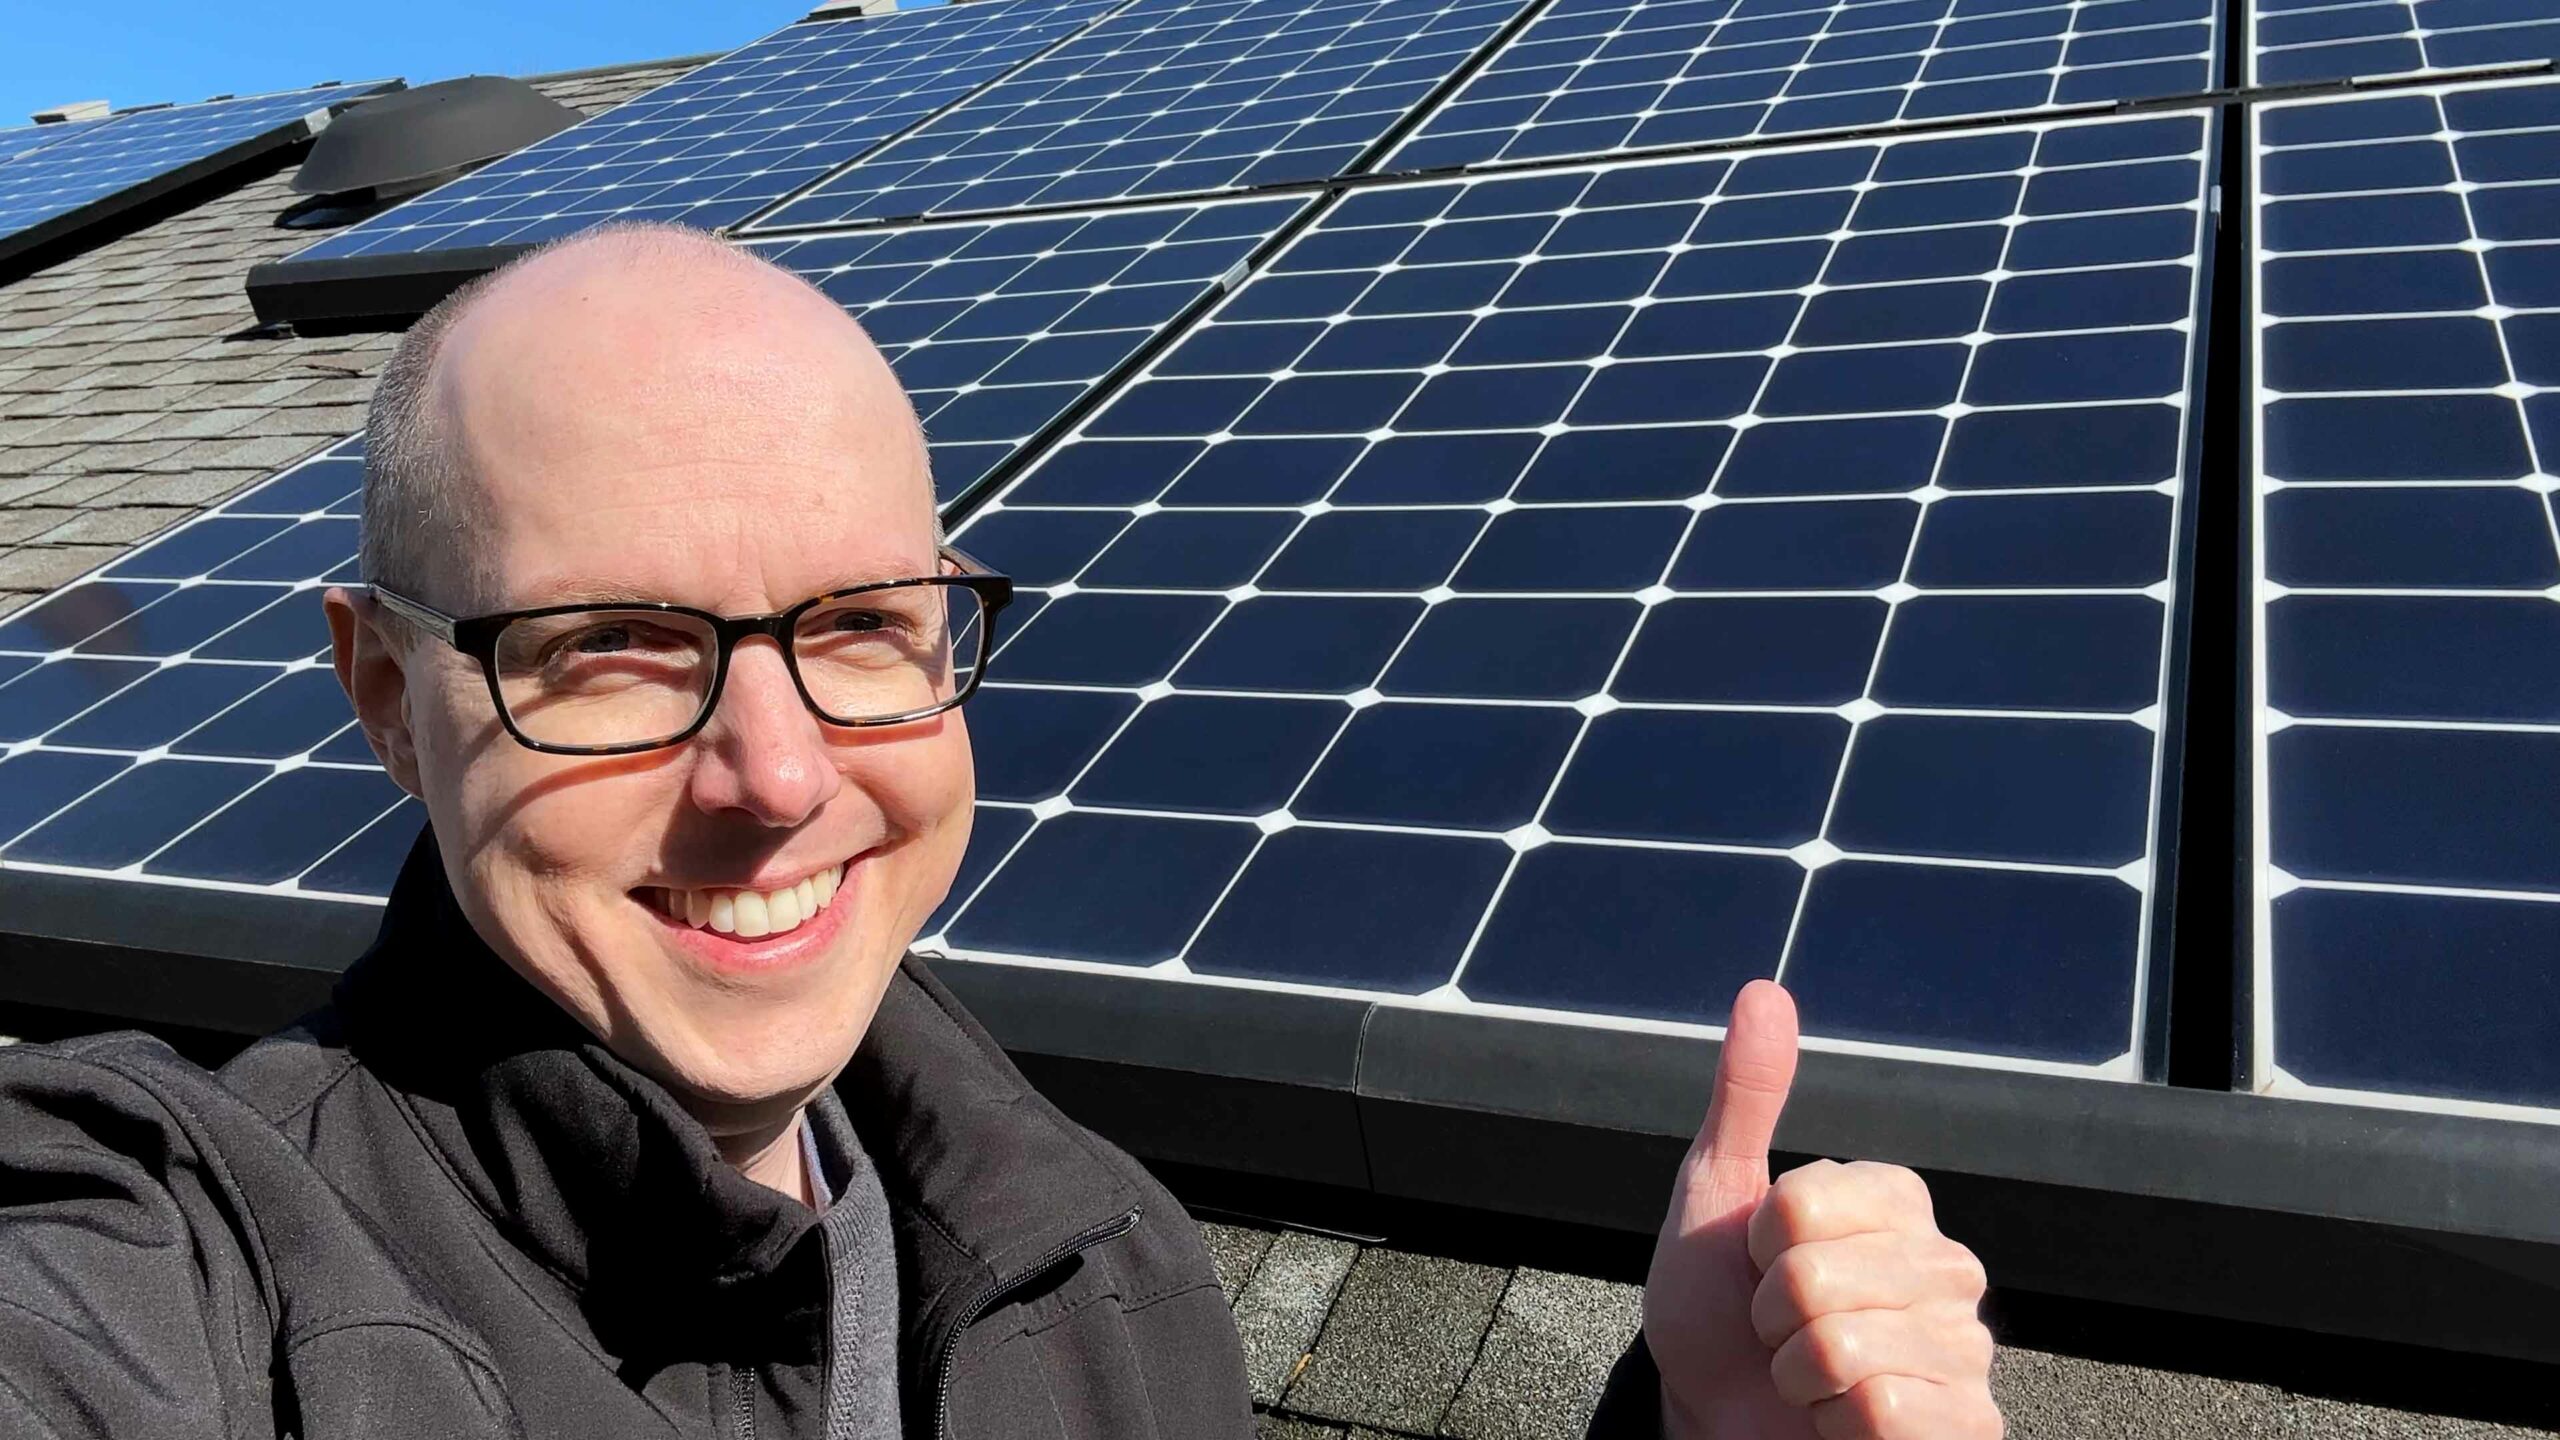
Unity got the house fully assembled on site in about 9 days (including the prep time). It only took about 3 days to raise the entire shell. The second day I was there I was out front filming when a couple of my neighbors walked by and were shocked at how fast a house just “showed up.” At this point the house is water tight, air tight and ready for finishing, which my local general contractor is taking over at this point. We’re also going to be doing more blower door tests as finishing progresses to make sure we’re holding steady or getting better. I’m still a distance away from being able to move in, but there’s still a lot to come. I’m getting a geothermal heating and cooling system installed, solar panels and home battery, and a bunch of smart home tech to automate a lot of this stuff. I’m planning on more videos, but let me know if there’s a particular aspect of my house build you’d like to see. It’s fascinating going through the process myself. When it’s all done I’m going to go through some of the pros and cons of the experience.


Comments